快速集成
本教程是为了让新手快速了解WPS协作中台。在本教程中,你可以体验集成协作中台SDK的基本流程和协作中台提供的 UI 界面。
环境要求
| 名称 | 版本 |
|---|---|
| Xcode | 15+ |
| iOS | 11.0+ |
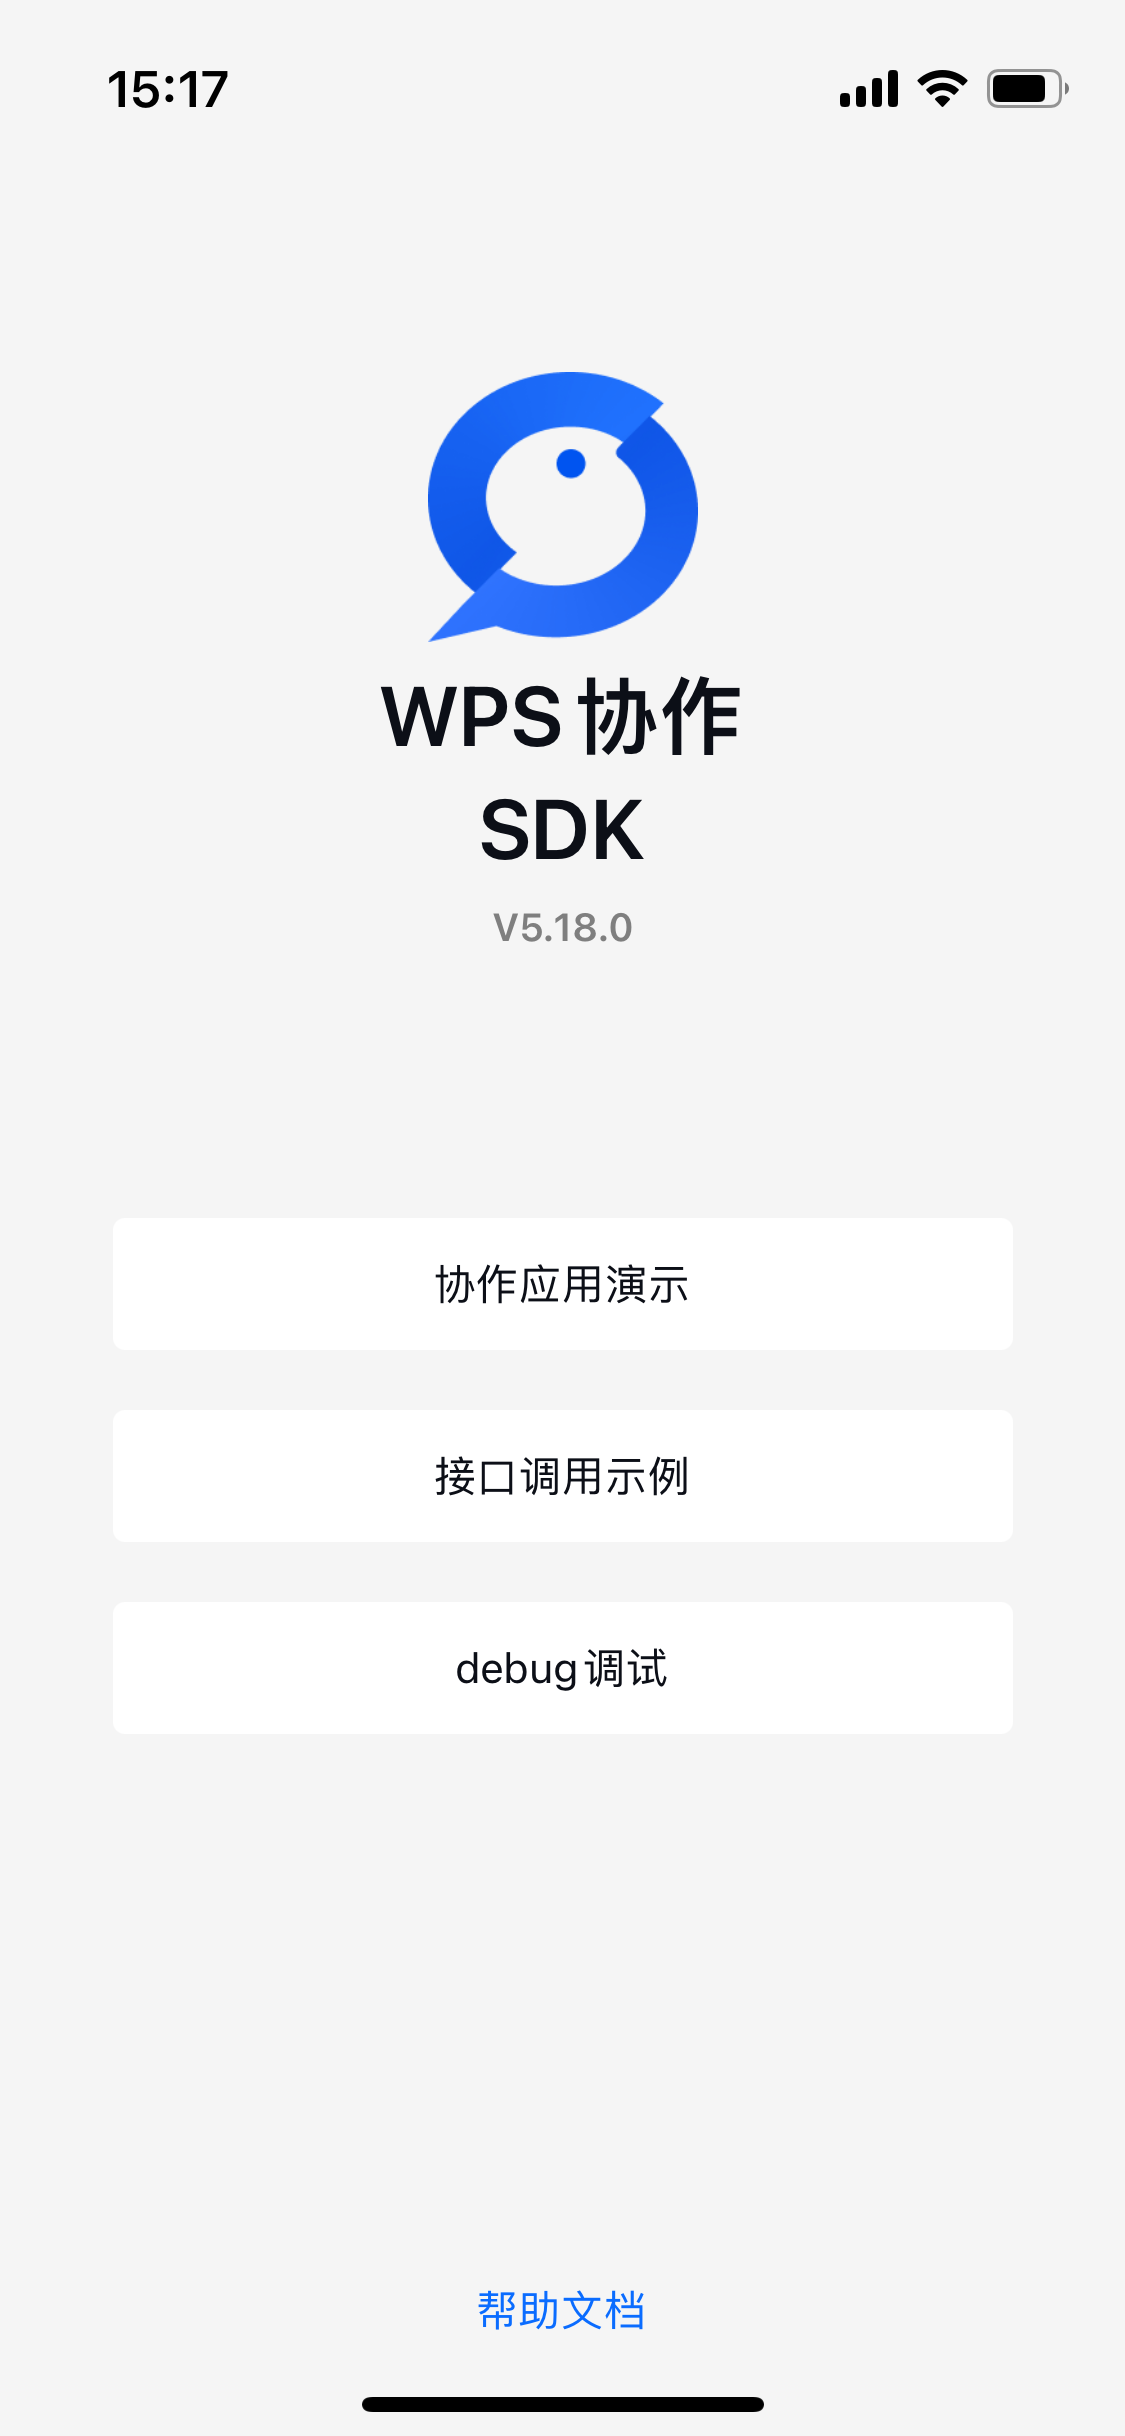
Demo体验
协作中台为您提供SDK Demo源码,可以运行安装Demo,快速了解和体验协作中台SDK提供的多项服务能力,如会话,文档,工作台,通讯录等。
运行步骤
通过官方获取到 WOASDKDemo 源码。
使用Xcode打开 WOASDKDemo.xcodeproj 工程。
点击Xcode运行按钮或者执行快捷键command+R 运行 WOASDKDemo 工程。
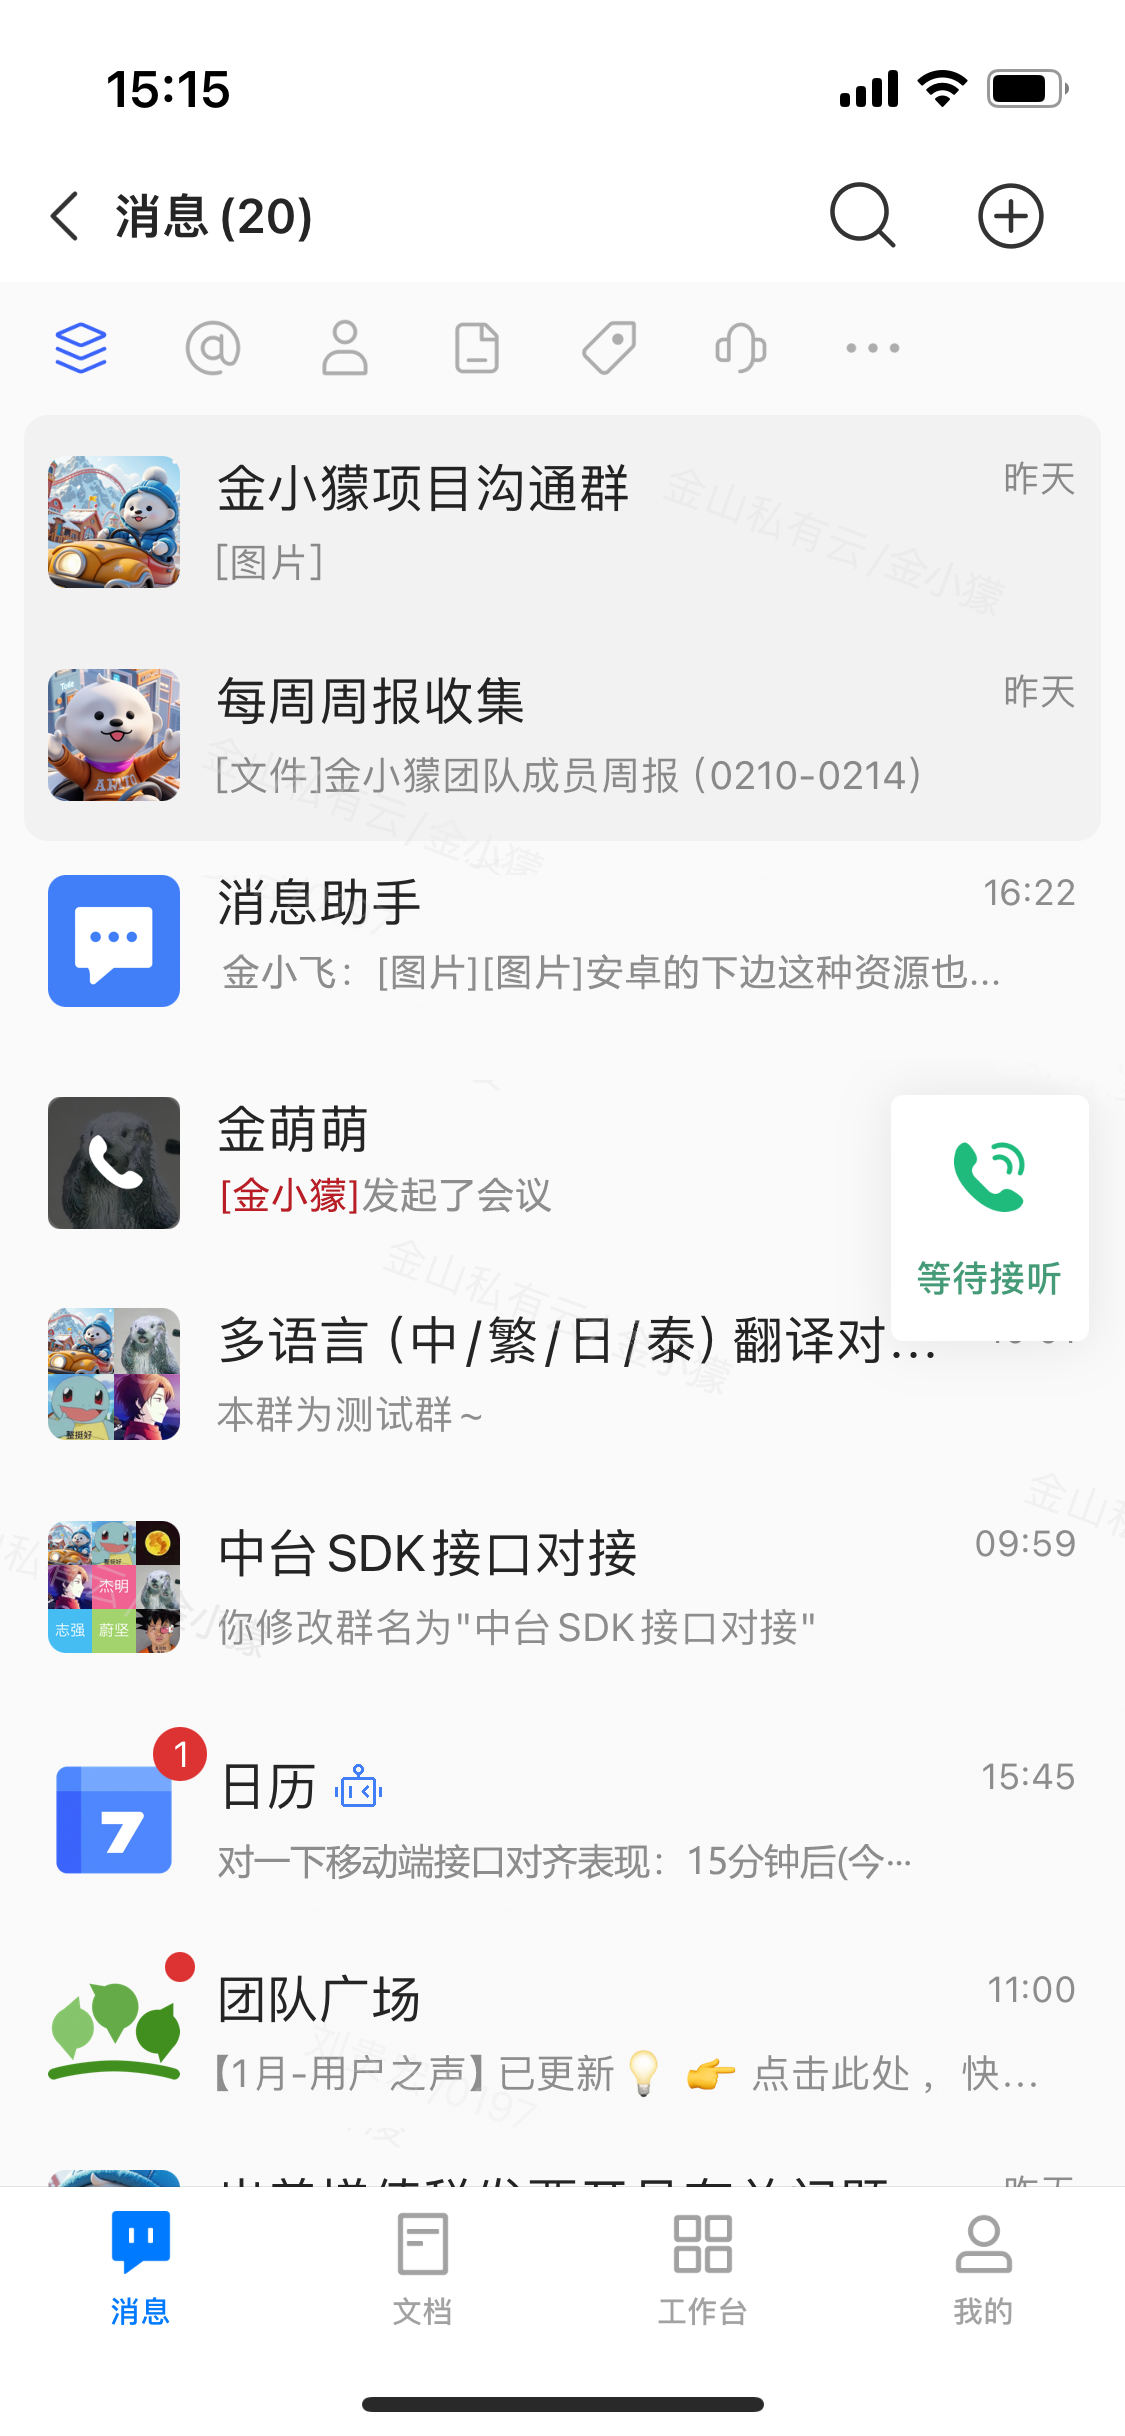
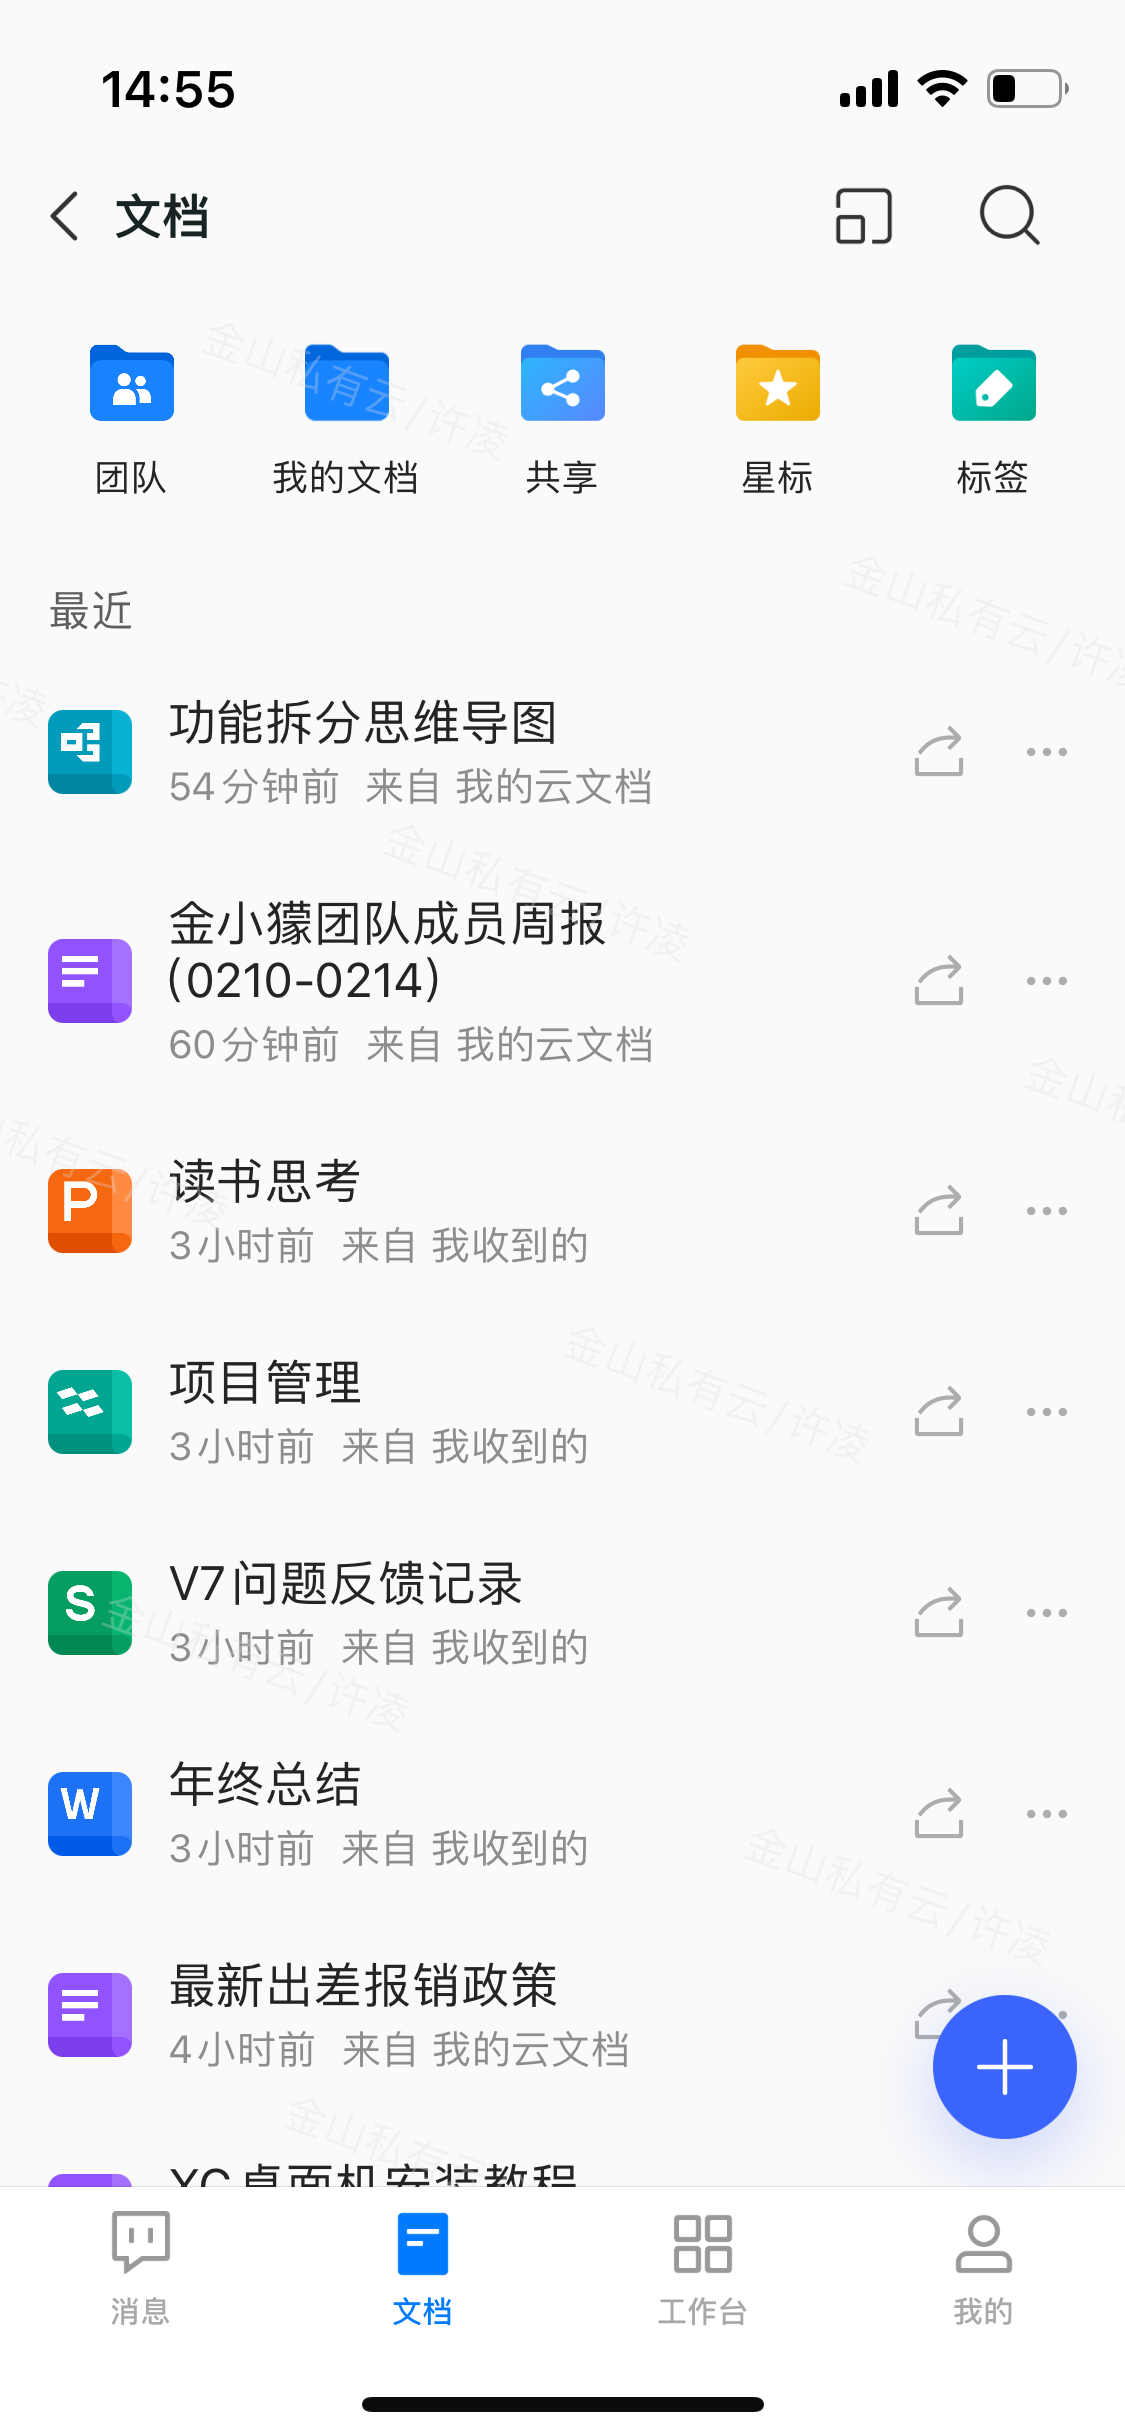
Demo效果展示


集成SDK
步骤1: 导入SDK
获取到SDK,包括但不限于KIMBase.xcframework、KIMCore.xcframework、WOASDK.xcframework,您可以按需把需要的 xcframework 导入到项目中。
修改你的项目配置。
a. 在
General->Frameworks,Libraries,and Embedded Binaries中,将 SDK 所需的 xcframework 全部改为Embed & Sign。b. 在
Build Settings->Search Paths->Framework Search Paths中双击按添加KIMBase.framework,WOASDK.xcframework路径:Plaintext$(inherited) $(PROJECT_DIR)/../framework/KIMBase.xcframework/ios-arm64/KIMBase.framework/Frameworks $(PROJECT_DIR)/../framework/WOASDK.xcframework/ios-arm64/WOASDK.framework/Frameworksc. 在
Build Settings->Architectures->Excluded Architectures中设置 Any iOS Simulator SDK 中填入 arm64 以支持m系列芯片的模拟器运行。项目文件中引入对应的SDK。
import KIMCore
import WOASDK@import KIMCore;
@import WOASDK;步骤2: 初始化
应用启动后调用初始化方法initWith(appKey: String, config: KIMInitConfig)进行初始化。
// 配置 KIMInitConfig
let config = KIMInitConfig()

// 私有化环境设置,entryJSONUrl为请求入口地址,服务部署后可取到
config.entryJsonUrl = URL(string: "https://10.13.4.146")

// 初始化调用
KIM.initWith(appKey: "AK20231010GGXQGI", config: config)// 配置 KIMKitConfig
KIMKitConfig *config = [[KIMInitConfig alloc] init];
// 私有化环境设置,entryJSONUrl为请求入口地址,服务部署后可取到
config.entryJsonUrl = [[NSURL alloc] initWithString:@"https://10.13.4.146"];
// 初始化调用
[KIM initWithAppKey:@"AK20231010GGXQGI" config:config];步骤3: 登录连接
调用授权码登录接口进行登录,登录完成后,SDK内部自动完成IM连接。
a. 开发者需在企业后台完成 SSO 认证配置,获取得到 APP_ID。配置流程详见SSO 登录。
b. 用户从自身业务服务接口中获取授权码 AUTH_CODE。注意 AUTH_CODE 通常具有时效性。
KIM.shared.login(authCode: "authCode", appId: "appId") { success, error in
    if success {
        // 登录成功
    } else {
        // 登录失败
    }
}[KIM.shared loginWithAuthCode:@"authCode" appId:@"appId" complete:^(BOOL success, KIMError *error) {
if (success) {
// 登录成功
} else {
// 登录失败
}
}];步骤4: 页面集成
完成登录后,可进入到会话列表,消息列表,文档列表,工作台等页面。
会话页面
登录成功后,可进入会话列表页使用会话相关功能。
let viewController = KIMChatListViewController()
self.navigationController.pushViewController(viewController, animated: true)KIMChatListViewController *viewController = [[KIMChatListViewController alloc] init];
[self.navigationController pushViewController:viewController animated:YES];聊天页面
点击会话列表的某条会话时,可跳转至聊天页面。
let viewController = KIMChatMessageViewController(chatId: chatId, chatType: chatType)
self.navigationController.pushViewController(viewController, animated: true)KIMChatMessageViewController *viewController = [[KIMChatMessageViewController alloc] initWithChatId:chatId chatType:chatType];
[self.navigationController pushViewController:viewController animated:YES];文档页面
登录成功后,可以进入文档主页,使用文档列表,预览文档,编辑文档等功能。
let viewController = KIMDocumentHomeViewController()
self.navigationController.pushViewController(viewController, animated: true)KIMDocumentHomeViewController *viewController = [[KIMDocumentHomeViewController alloc] init];
self.navigationController.pushViewController(viewController, animated: true)工作台页面
登录成功后,可以进入工作台页面,工作台页面展示应用列表,可以点击应用进入应用详情页,使用到各个应用功能。
let viewController = KIMWorkSpaceViewController()
self.navigationController.pushViewController(viewController, animated: true)KIMWorkSpaceViewController *viewController = [[KIMWorkSpaceViewController alloc] init];
self.navigationController.pushViewController(viewController, animated: true)